阿里云自动化添加安全组
应用场景
每次去阿里云控制台 将自己的外网IP添加为白名单操作过于繁琐,一切可以自动化的事情应该要自动化,所以我们需要一个 自动将本机外网IP添加为安全组规则的脚本。
前置条件
- 拥有可以操作
AuthorizeSecurityGroupAPI 的AccessKey
前往 AccessKey 管理 添加 accessKey。
添加一个子账号,创建 AccessKey 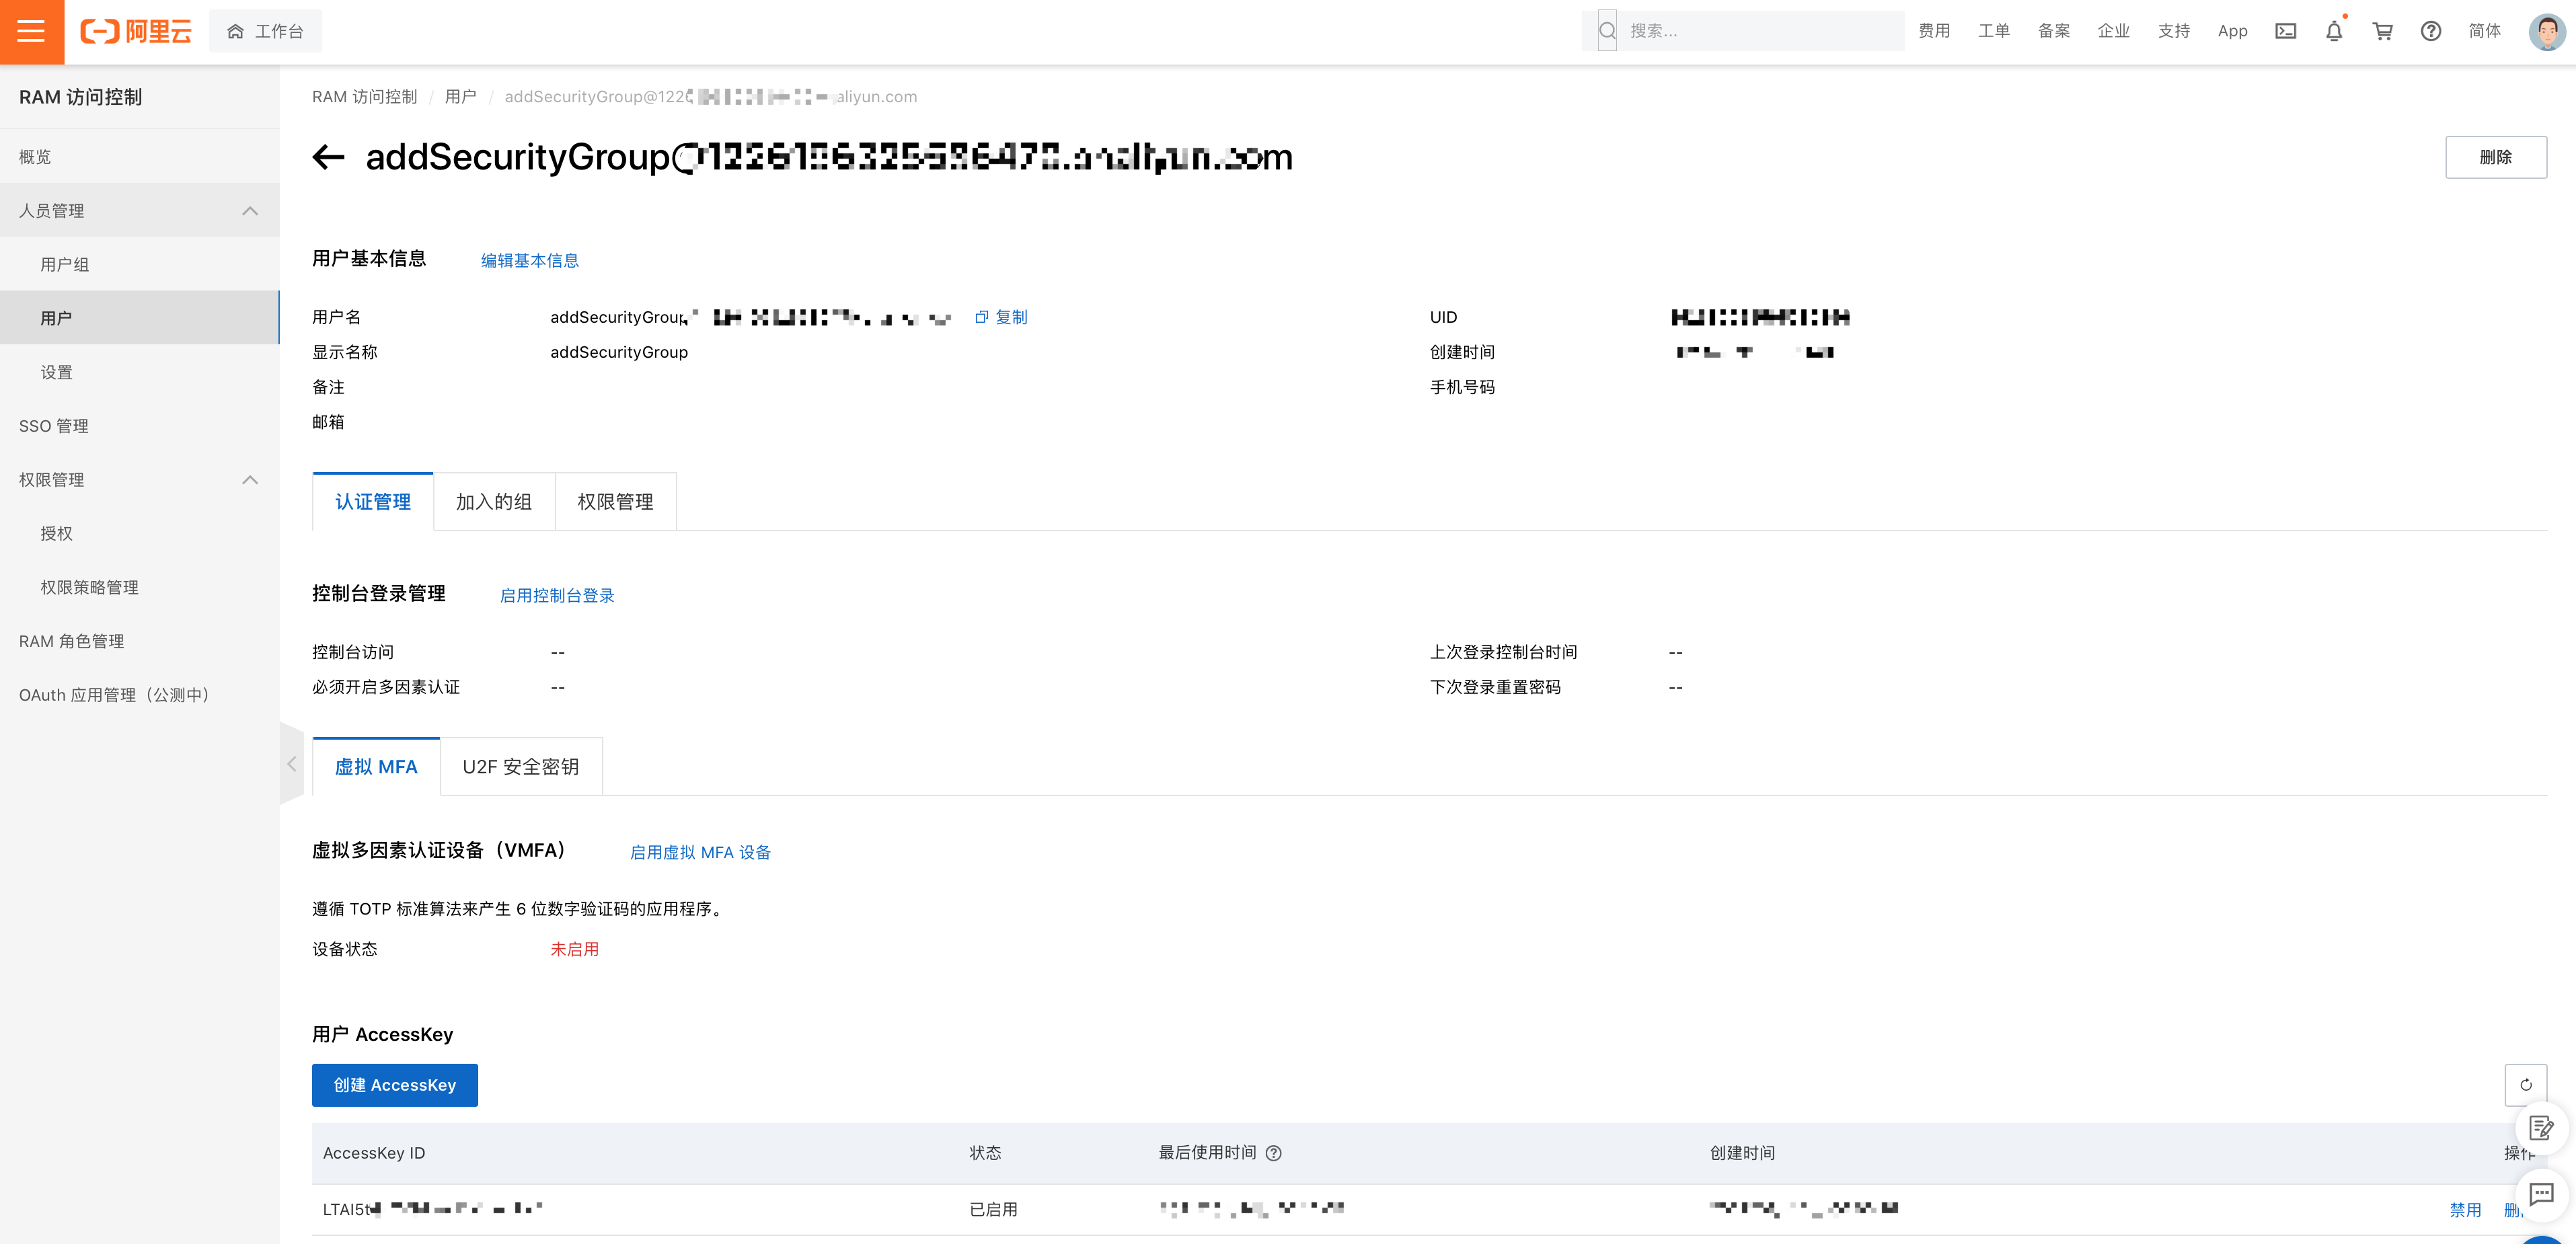
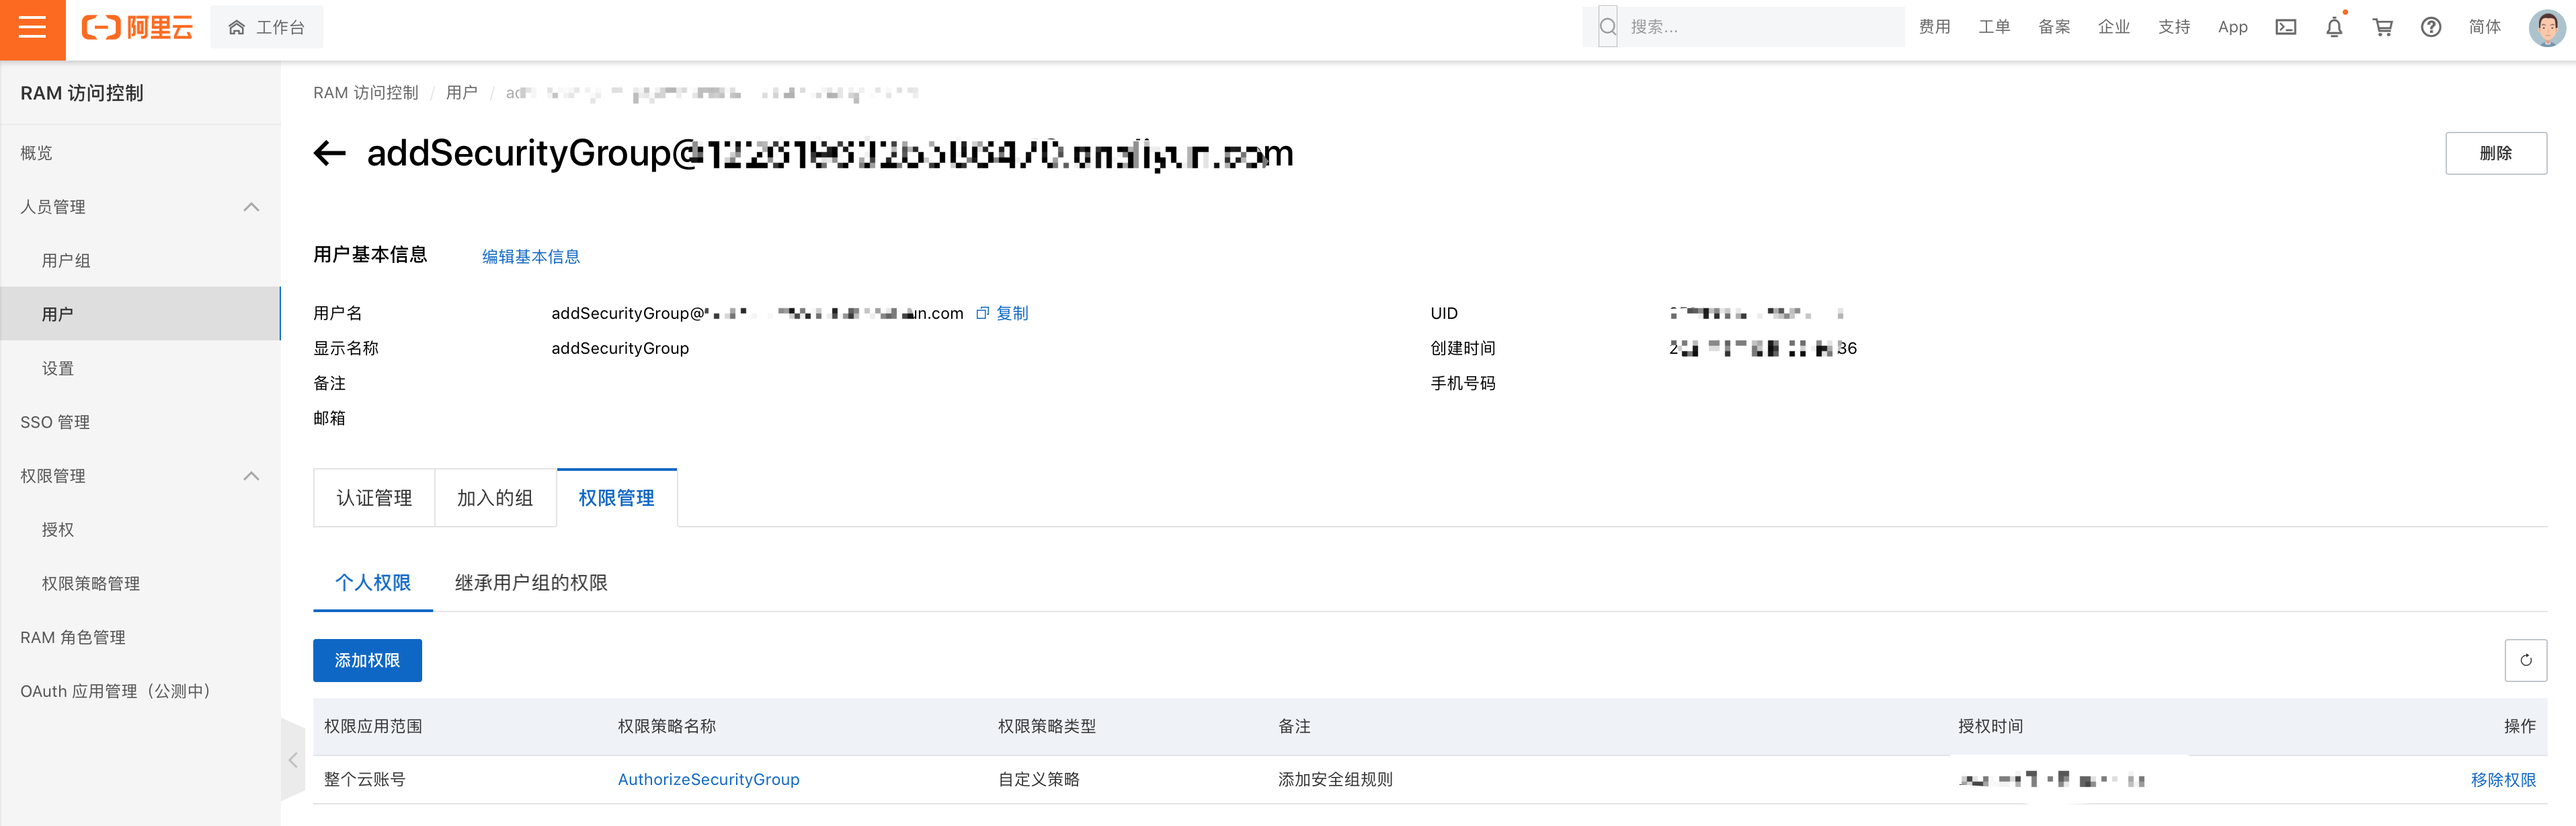
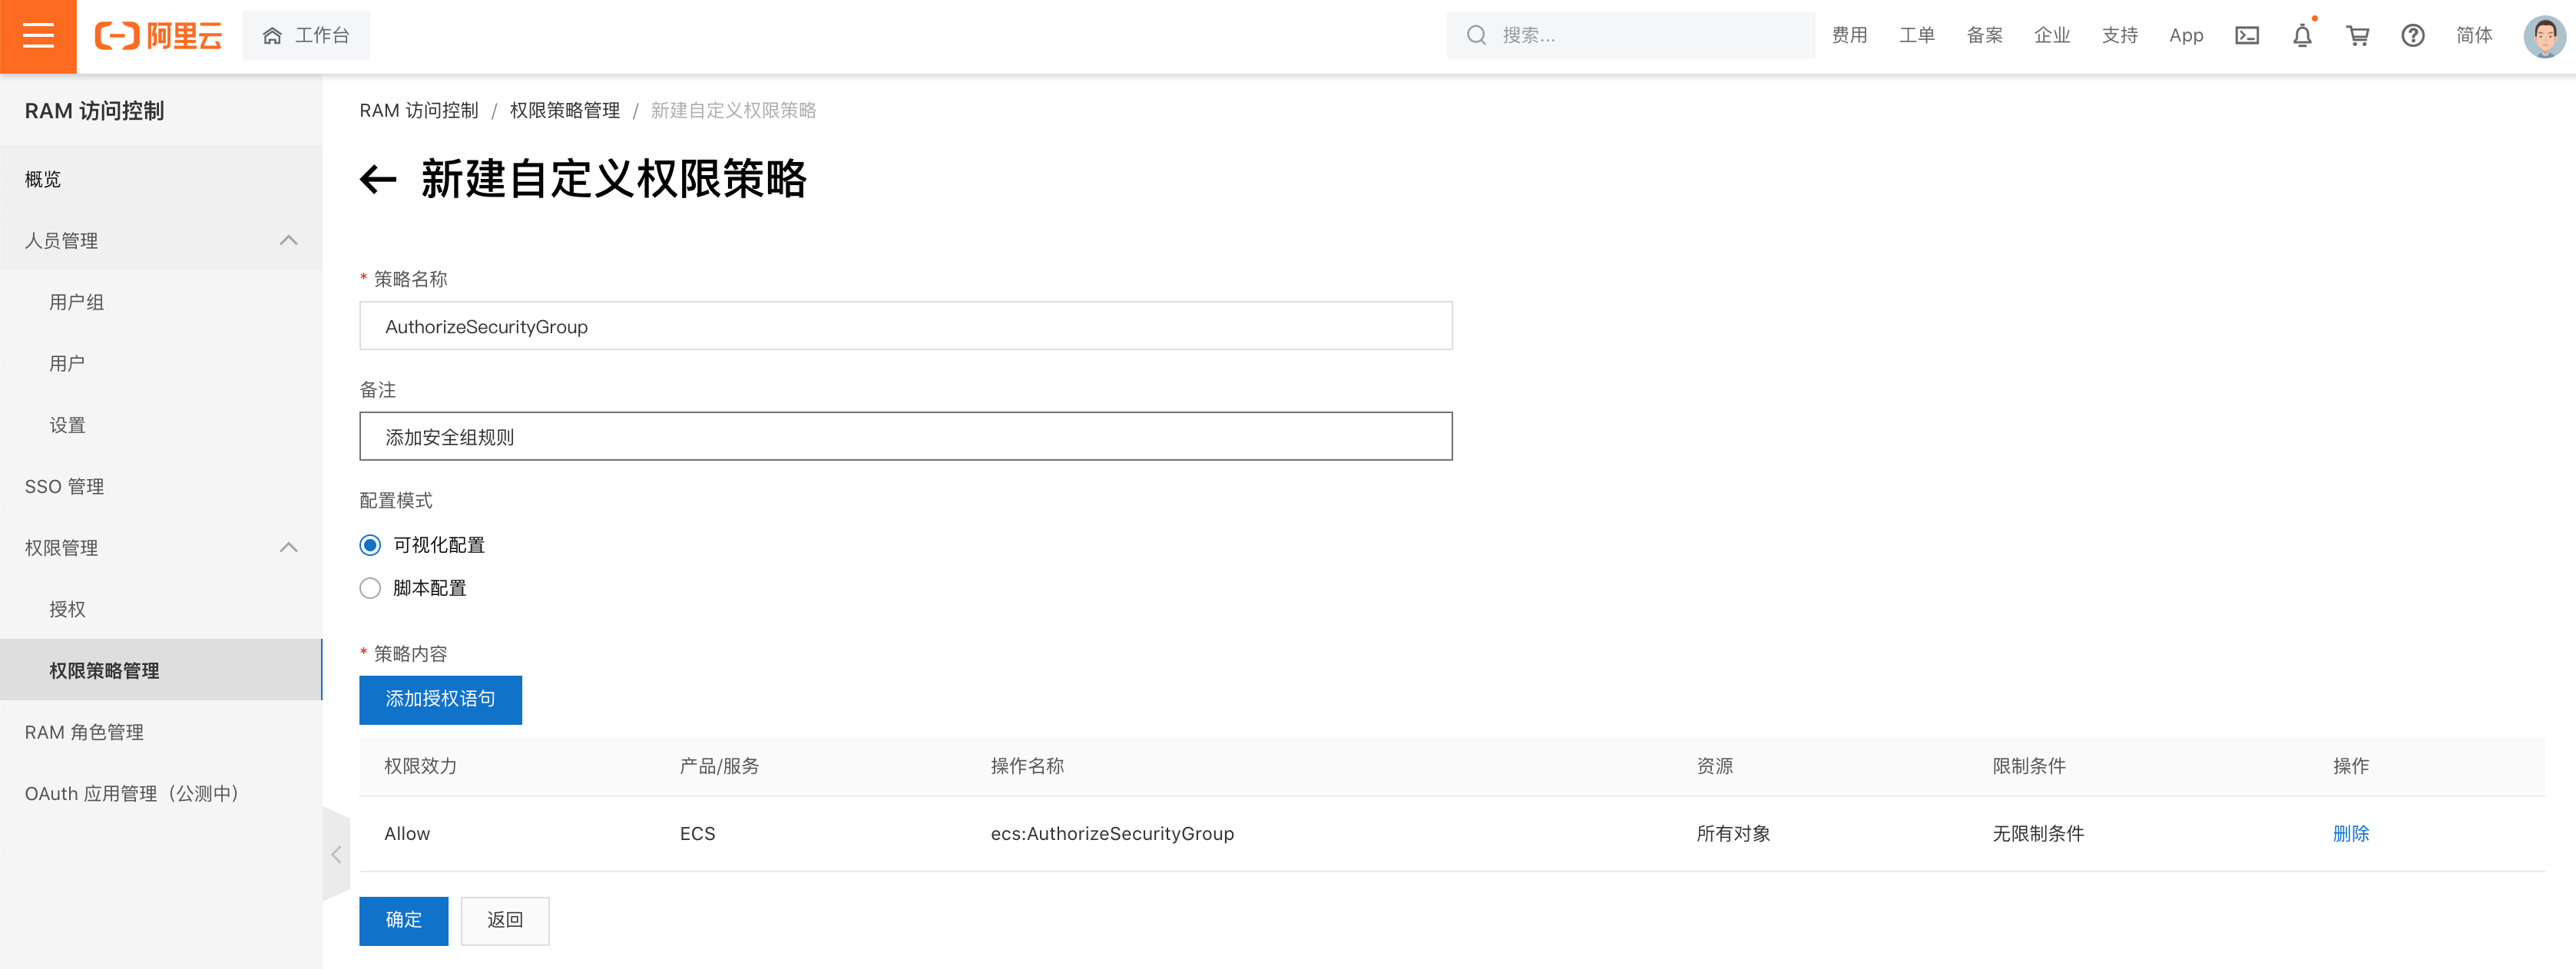
给该 AccessKey 授权一个最小的权限:AuthorizeSecurityGroup,只能添加安全组的入方向规则。
准备好了 AccessKey,就可以开始准备脚本了。
以下提供两种方式, Python 、Golang(推荐,因为编译后看不到密码)。
代码实现:添加一条安全组入规则,支持本机IP访问 22 端口,如果希望放开所有端口,可以将 request.PortRange 的值修改为 1/65535
1. Python
1.1 安装依赖包
# pip3 install aliyun-python-sdk-ecs==4.24.3
1.2 编写脚本
请替换代码中的 <accessKeyId>, <accessSecret>, <YourSecurityGroupId>, <RegionId> .
#!/usr/bin/env python
#coding=utf-8
import requests
from aliyunsdkcore.client import AcsClient
from aliyunsdkcore.acs_exception.exceptions import ClientException
from aliyunsdkcore.acs_exception.exceptions import ServerException
from aliyunsdkecs.request.v20140526.AuthorizeSecurityGroupRequest import AuthorizeSecurityGroupRequest

# 获取IPv4地址:https://4.ipw.cn
# 获取IPv6地址:https://6.ipw.cn
# 确认用户网络是IPv4还是IPv6访问优先:https://test.ipw.cn/api/ip/myip?json
r = requests.get('https://4.ipw.cn')
clientIP = r.text

# <accessKeyId>, <accessSecret>: 前往 https://ram.console.aliyun.com/manage/ak 添加 accessKey
# RegionId:安全组所属地域ID ,比如 `cn-guangzhou`
# 访问 [DescribeRegions:查询可以使用的阿里云地域](https://next.api.aliyun.com/api/Ecs/2014-05-26/DescribeRegions) 查阅
# 国内一般是去掉 ECS 所在可用区的后缀,比如去掉 cn-guangzhou-b 的尾号 -b
client = AcsClient('<accessKeyId>', '<accessSecret>', '<RegionId>')

request = AuthorizeSecurityGroupRequest()
request.set_accept_format('json')

request.set_SecurityGroupId("<YourSecurityGroupId>") # 安全组ID
request.set_IpProtocol("tcp") # 协议,可选 tcp,udp, icmp, gre, all:支持所有协议
request.set_PortRange("22/22") # 端口范围,使用斜线(/)隔开起始端口和终止端口,如果信任所有端口为 1/65535
request.set_Priority("1") # 安全组规则优先级,数字越小,代表优先级越高。取值范围:1~100
request.set_Policy("accept") # accept:接受访问, drop: 拒绝访问
request.set_NicType("internet") # internet:公网网卡, intranet:内网网卡。
request.set_SourceCidrIp(clientIP) # 源端IPv4 CIDR地址段。支持CIDR格式和IPv4格式的IP地址范围。

response = client.do_action_with_exception(request)
# python2:  print(response)
print(str(response, encoding='utf-8'))
print("Client IP: %s  was successfully added to the Security Group." % clientIP)
1.3 执行代码
$ python3 addSecurityGroupRule.py
{"RequestId":"1657CAC5-8B1F-4EB8-A947-DC76F44B27C8"}
Client IP: 119.xx.xx.xx  was successfully added to the Security Group.
2. Golang
2.1 安装依赖包
$ go get github.com/aliyun/alibaba-cloud-sdk-go/services/ecs
2.2 编写脚本
请替换代码中的 <accessKeyId>, <accessSecret>, <YourSecurityGroupId>, <RegionId> .
package main

import (
	"fmt"
	"io/ioutil"
	"net/http"

	"github.com/aliyun/alibaba-cloud-sdk-go/services/ecs"
)

func main() {

	responseClient, errClient := http.Get("https://4.ipw.cn/") // 获取外网 IP
	if errClient != nil {
		fmt.Printf("获取外网 IP 失败,请检查网络\n")
		panic(errClient)
	}
	// 程序在使用完 response 后必须关闭 response 的主体。
	defer responseClient.Body.Close()

	body, _ := ioutil.ReadAll(responseClient.Body)
	clientIP := string(body)

// <accessKeyId>, <accessSecret>: 前往 https://ram.console.aliyun.com/manage/ak 添加 accessKey
// RegionId:安全组所属地域ID ,比如 `cn-guangzhou`
// 访问 [DescribeRegions:查询可以使用的阿里云地域](https://next.api.aliyun.com/api/Ecs/2014-05-26/DescribeRegions) 查阅
// 国内一般是去掉 ECS 所在可用区的后缀,比如去掉 cn-guangzhou-b 的尾号 -b

	client, err := ecs.NewClientWithAccessKey("<RegionId>", "<accessKeyId>", "<accessSecret>")
	if err != nil {
		fmt.Print(err.Error())
	}

	request := ecs.CreateAuthorizeSecurityGroupRequest()
	request.Scheme = "https"

	request.SecurityGroupId = "<YourSecurityGroupId>" // 安全组ID
	request.IpProtocol = "tcp" // 协议,可选 tcp,udp, icmp, gre, all:支持所有协议
	request.PortRange = "22/22" // 端口范围,使用斜线(/)隔开起始端口和终止端口
	request.Priority = "1" // 安全组规则优先级,数字越小,代表优先级越高。取值范围:1~100
	request.Policy = "accept" // accept:接受访问, drop: 拒绝访问
	request.NicType = "internet" // internet:公网网卡, intranet:内网网卡。
	request.SourceCidrIp = clientIP // 源端IPv4 CIDR地址段。支持CIDR格式和IPv4格式的IP地址范围。

	response, err := client.AuthorizeSecurityGroup(request)
	if err != nil {
		fmt.Print(err.Error())
	}
	fmt.Printf("Response: %#v\nClient IP: %s  was successfully added to the Security Group.\n", response, clientIP)
}
2.3 执行代码
$ go run addSecurityGroupRule.go
Response: &ecs.AuthorizeSecurityGroupResponse{BaseResponse:(*responses.BaseResponse)(0xc00014c080), RequestId:"53C16A7C-91DC-48E6-B6BA-B0830A00C7C1"}
Client IP: 119.xx.xx.xx  was successfully added to the Security Group.
无误后,编译程序
$ go build addSecurityGroupRule.go
$ ./addSecurityGroupRule
Response: &ecs.AuthorizeSecurityGroupResponse{BaseResponse:(*responses.BaseResponse)(0xc0002c0080), RequestId:"BEAC369E-2267-4EEF-9463-26A1DEA3ED9B"}
Client IP: 119.xx.xx.xx  was successfully added to the Security Group.
自动化可以解放我们,一起加油吧。
reference
- [1] aliyun. 增加一条入方向安全组规则
IPv6工具箱 小程序 和 iOS App
小程序
微信扫一扫,唤起小程序

你也可以复制小程序短链接,发送给任意一个微信好友,在聊天对话框中打开该短链接即可唤起小程序。
#小程序://IPv6工具箱/U1R4edQusuF2zpa
注:如果你觉得这个小程序还不错,欢迎在微信搜一搜中搜索 IPv6工具箱 并给予评价,你的鼓励是本站前进的动力😘!
苹果 iOS App
如果你正在使用 iPhone 打开本站,可点击 IPv6工具箱 快速进入 App Store 下载 App,当然你也可以使用微信扫描下方二维码。

注:如果你觉得这个 App 还不错,欢迎在 App Store 轻点评分+评论,你的鼓励是本站前进的动力!😘
访客IP: ,您的网络 访问优先